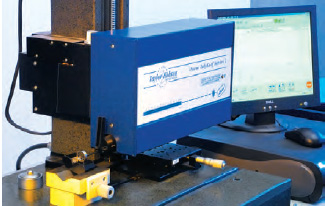
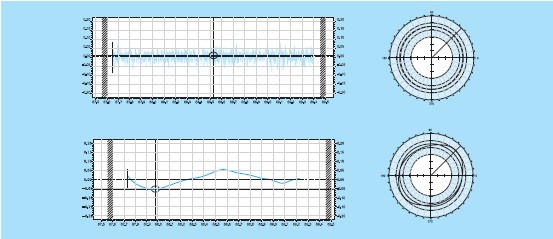
Waviness, roundness and form analyser
We have professional equipment to check the Waviness, roundness and form analyser of the bearings.
We have professional equipment to check the Waviness, roundness and form analyser of the bearings.


 |
 |
 |
| The measuring object is placed into the chuck of the spindle which is then rotated manually. The probe is applied manually or pneu- matically to the part. After perform- ing the measurement, the results are automatically checked for plausibility, presented on the monitor and then documented on an attached printer. | The measuring object is placed into the chuck of the spindle which is then set in rotation. The probe is applied manually or pneumatically to the part. After performing each measurement, the results are auto- matically checked for plausibility, and then presented on the monitor and documented on an attached printer. | The measuring object is placed into the spindle chuck, which is then set in rotation. The probe is applied manually or pneumati- cally to the part. After performing the measurement, the results are automatically check ed for plausibility, presented on the monitor and then documented on an attached printer. |